
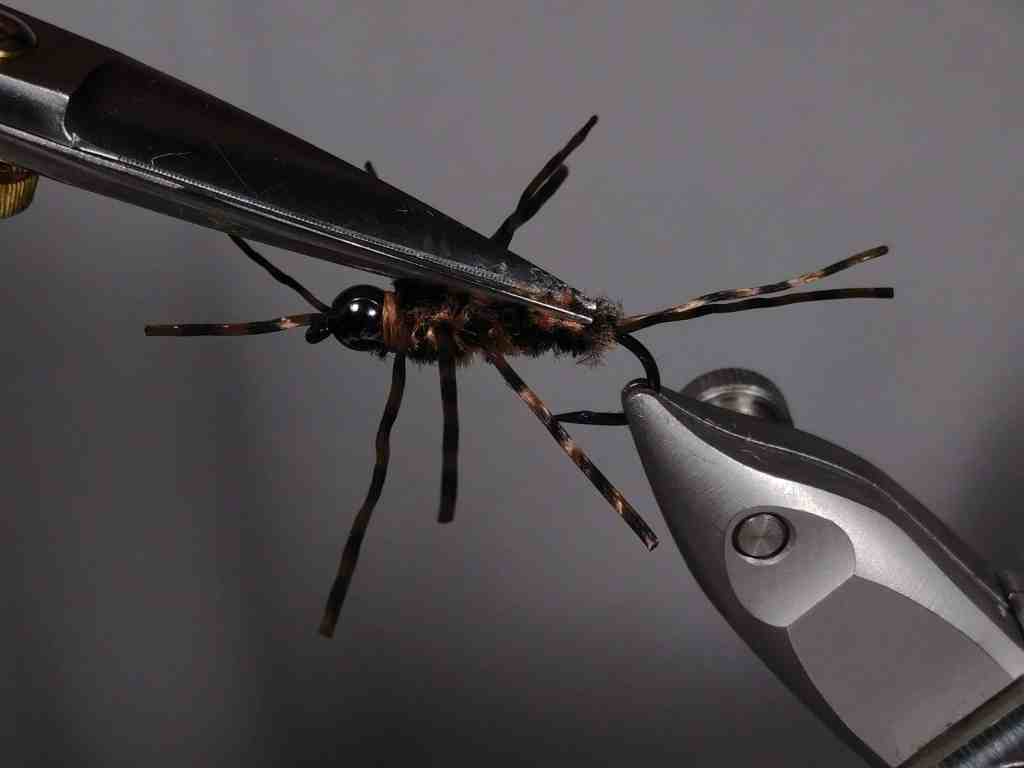
You may love this fly you may not. Regardless it turns fish and puts them in the net. Some say you can’t polish a turd but the Myth Busters proved that you can! The variations I have shown here, in my opinion, enhance this fly. It stands above the dirty flies such as the Squirmy Wormy or Mop flies. I maintain the classic variegated chenille and flexi legs. Then, I trim the abdomen and add some Loon UV Fly finish. This creates a nice profile and separation of the abdomen and thorax. In addition, these versions show a bead and hid 15 wraps of .015 lead wire for weight while the U106 bent hook creates a nice illusion of movement. Unlike the previous post, I showed a fly that is complex and hard for me to tie on. The Biot Wire Stonefly Nymph is challenging. This pattern sees a lot of water and fish.
Step By Step Fly Fish Food Coffee Black Variation:
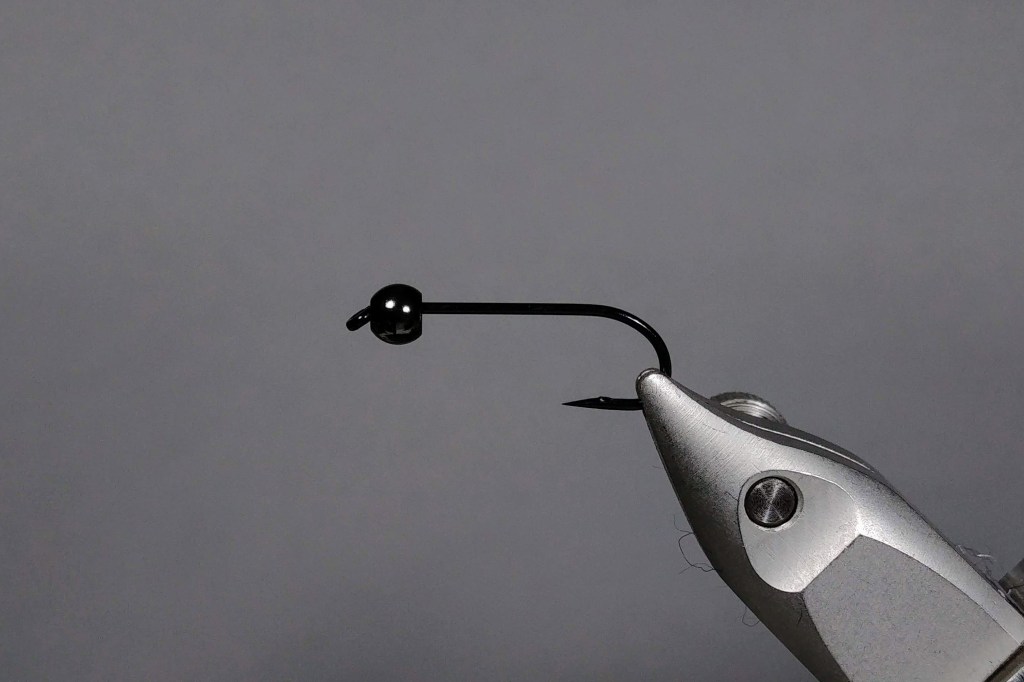
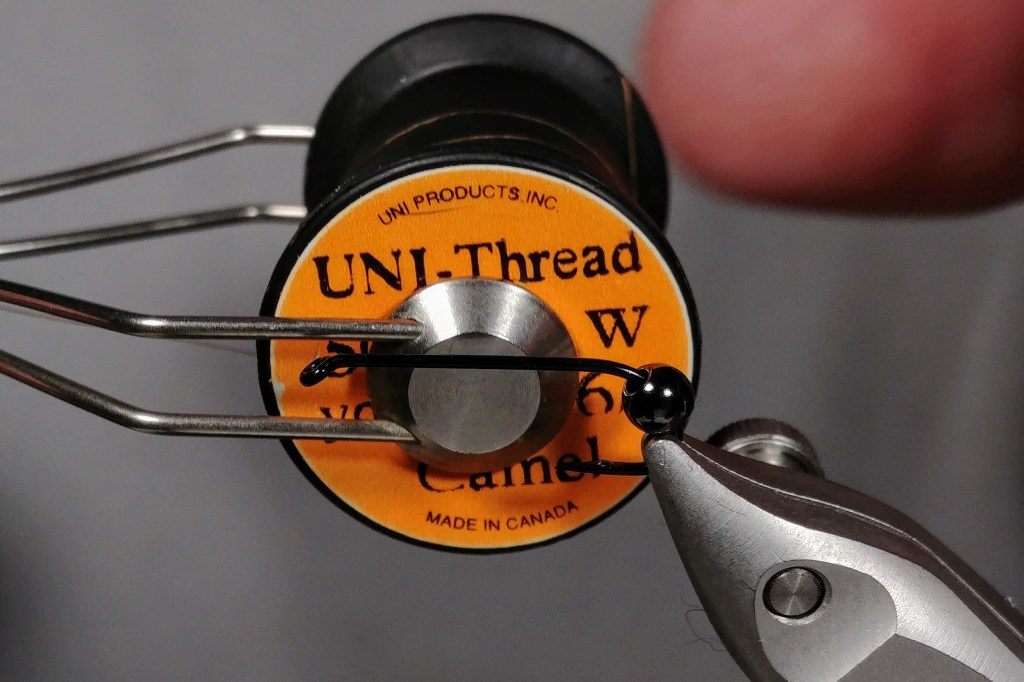
Start by setting the hook in the vise with the bead already slid into place. Move the bead to the back of the hook. Slide it down the bend to get it out of the way for now. Start your thread with just a few wraps right behind the hook eye.


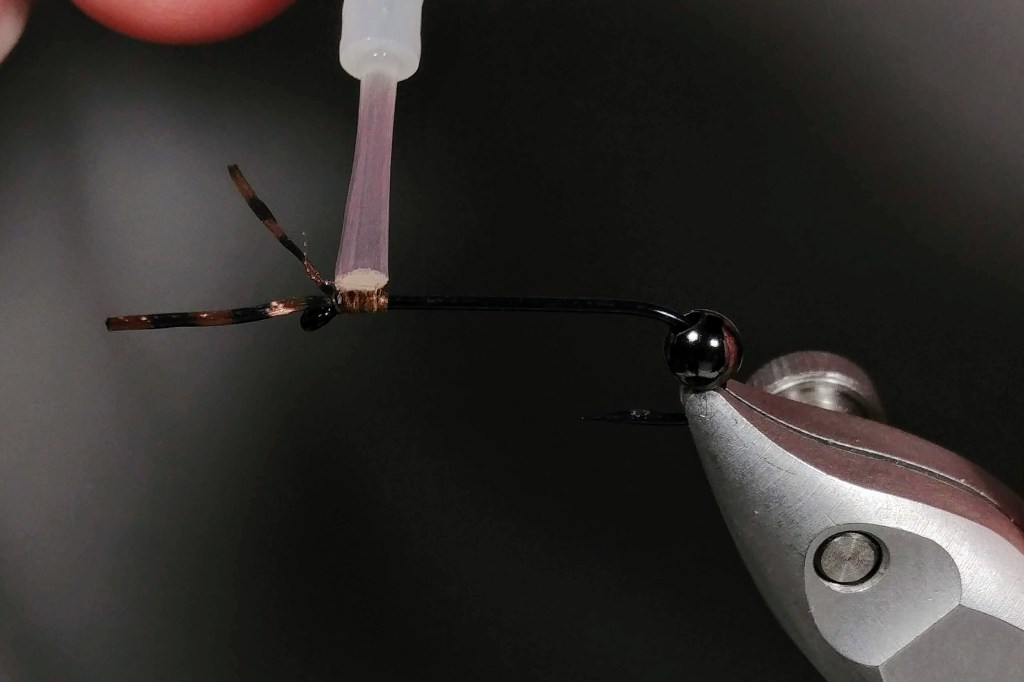
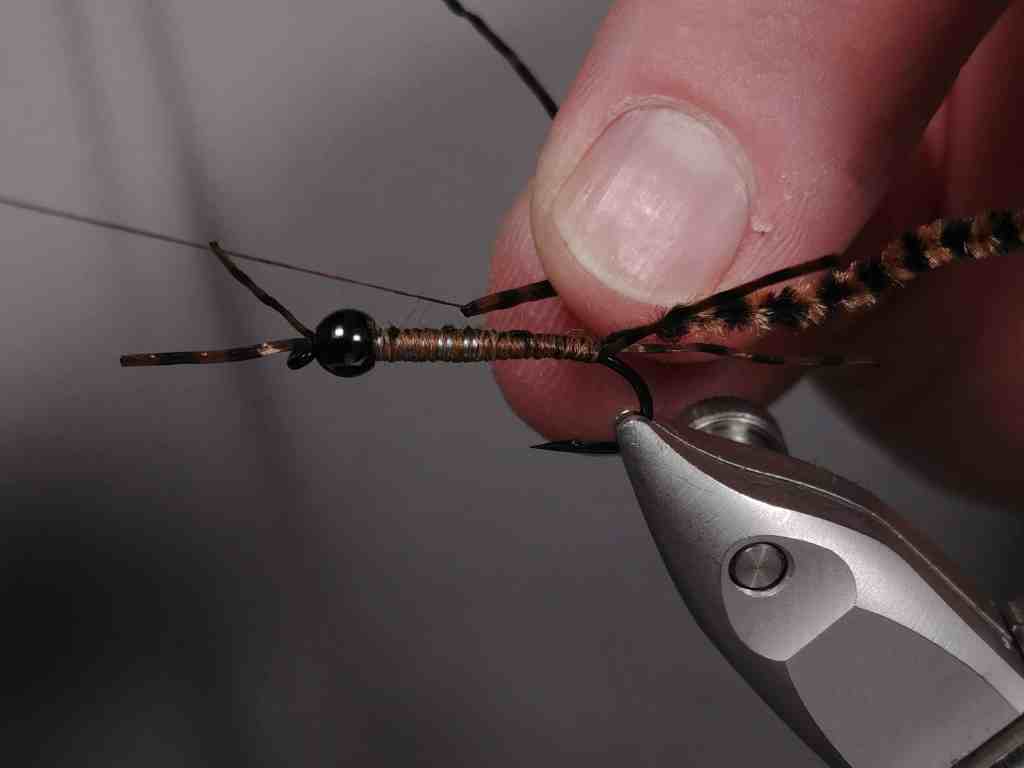
Attach the antenna so that they flare out in opposite directions. I like to tie in one side first. Then, I fold it over and secure it on the far side the same way.
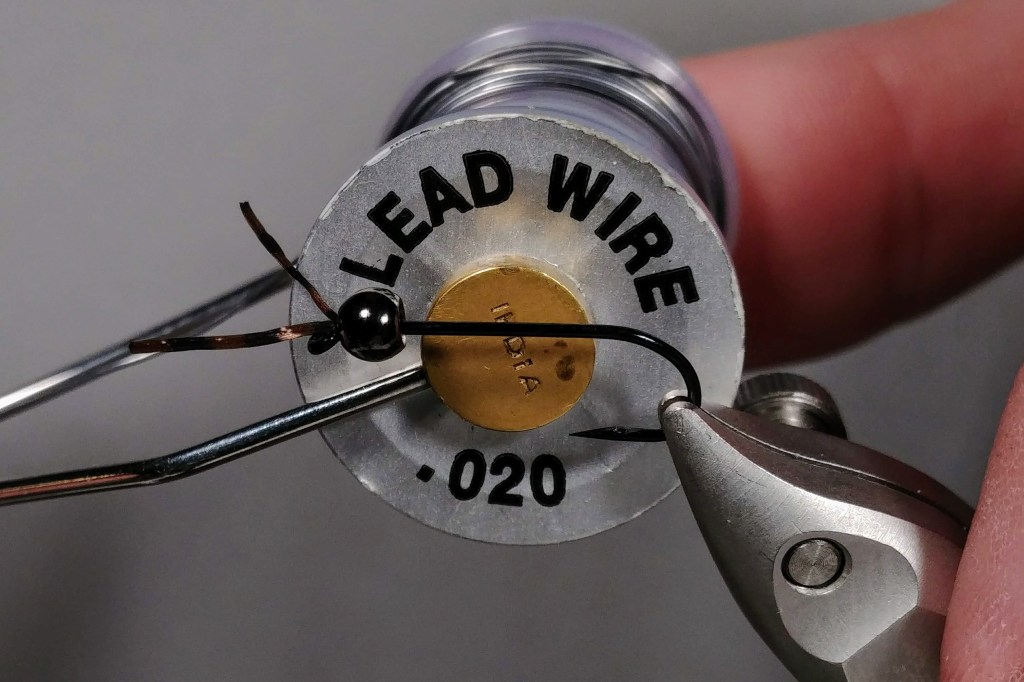
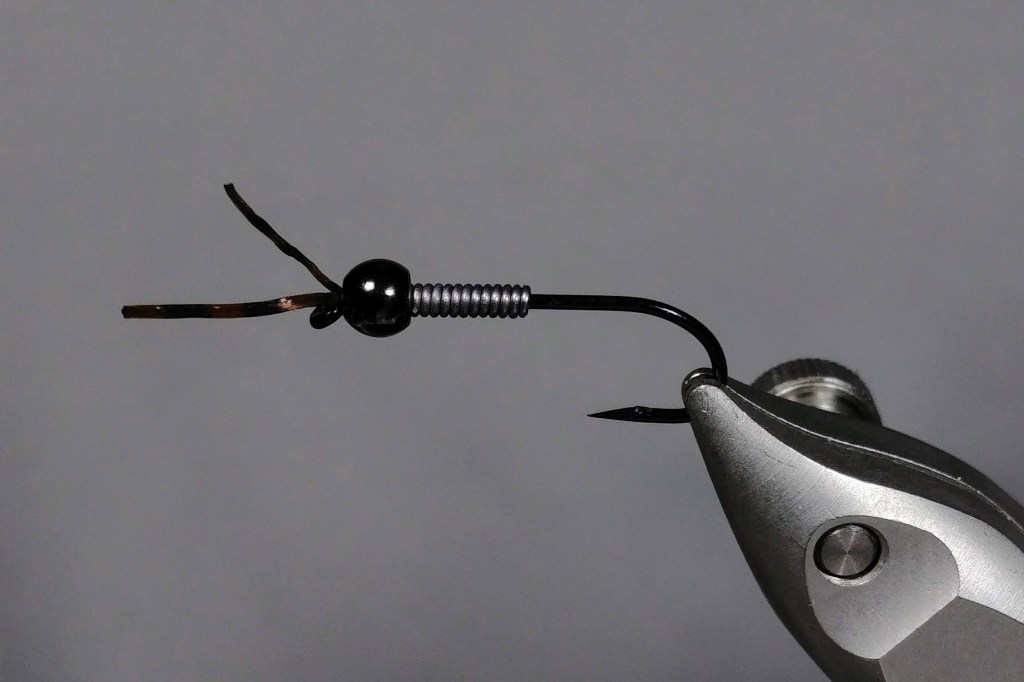

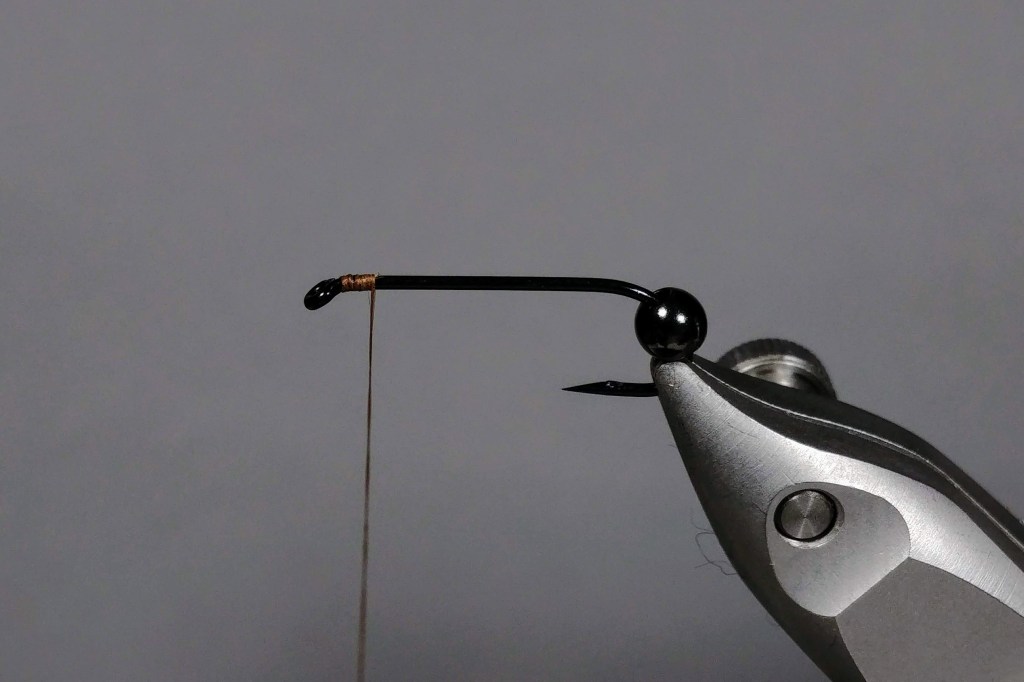
I like to make this pattern pretty heavy and add a good bit of lead wire. Make touching wraps with the lead or lead-free wire and push into the bead securing it all in place. Start your thread once again behind the wire and lock everything down.


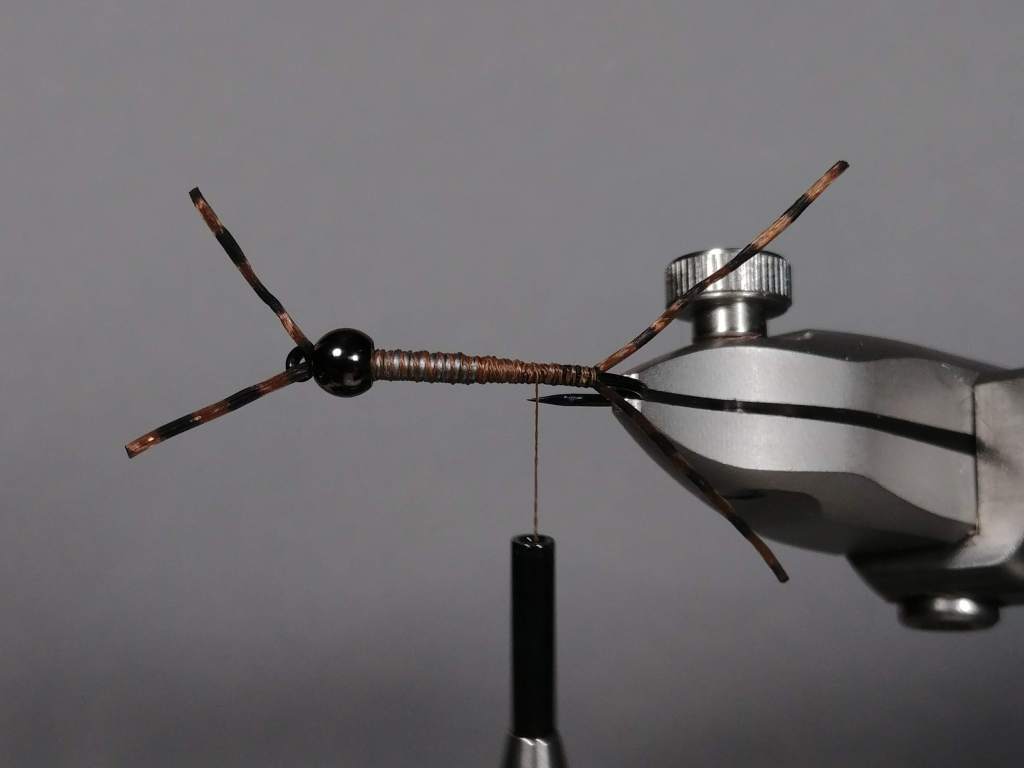
Using the same material as the antenna, attach the tail. I like to measure the length of the body and will make each tail match. Tie them in similar to how we had the antenna ensuring they flare out to either side.


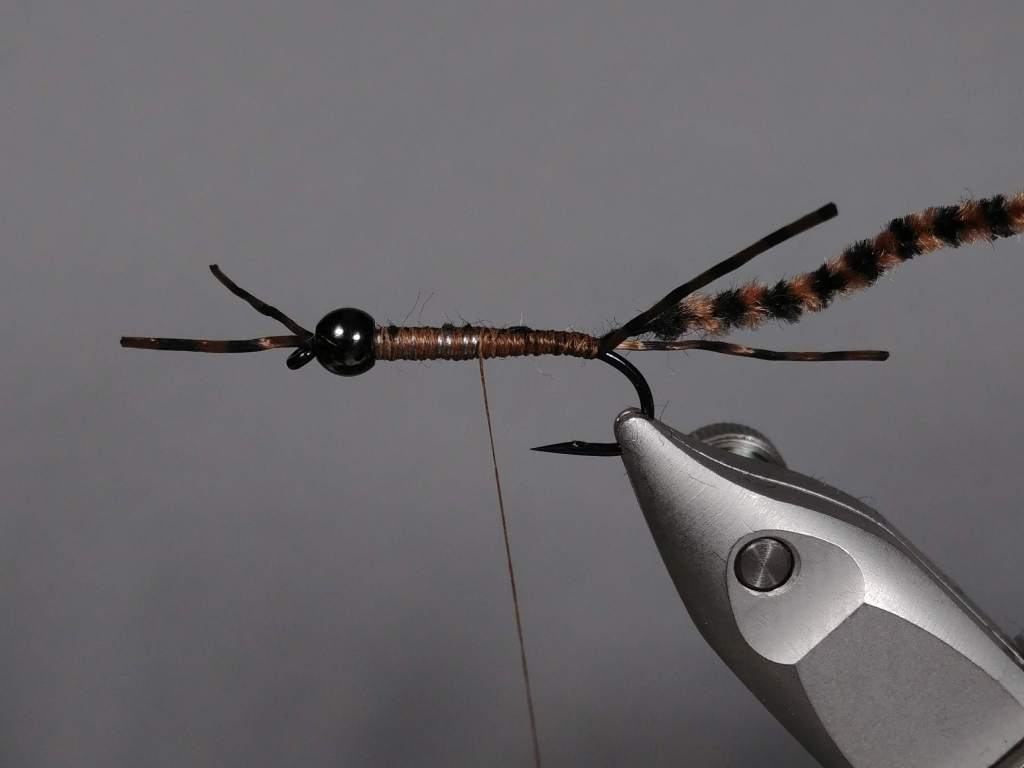
Prep the chenille by stripping the tip clean. I typically take off enough material so that I can tie in the tag the full length of the body. This helps avoid having any uneven sections or bumps.
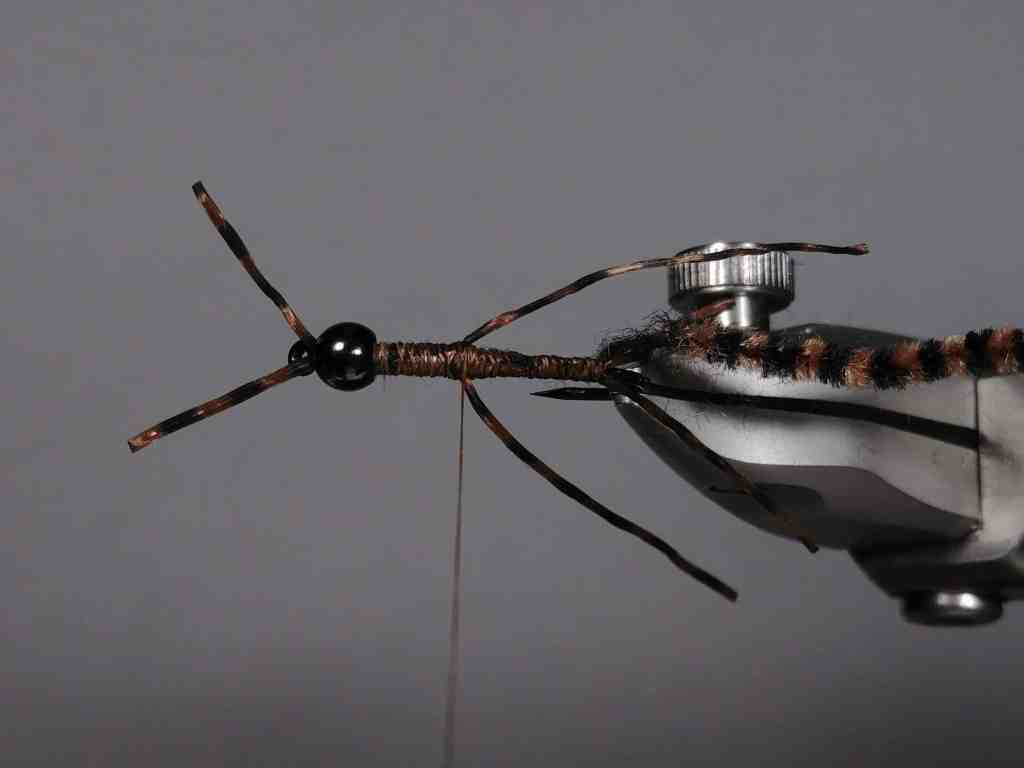
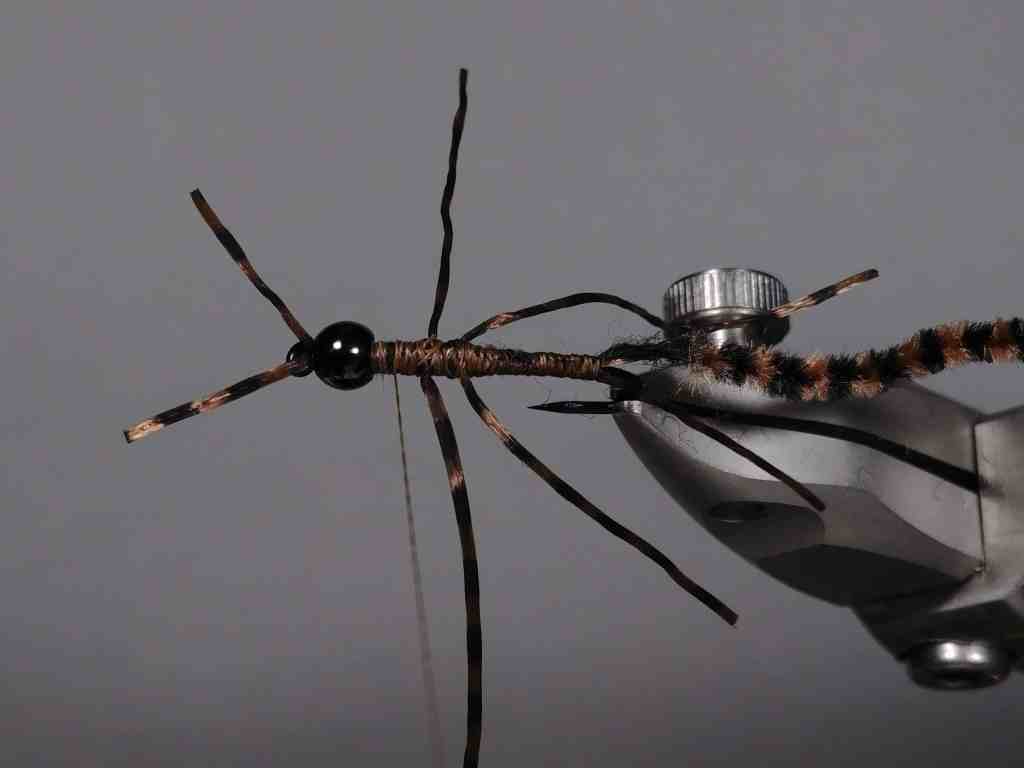

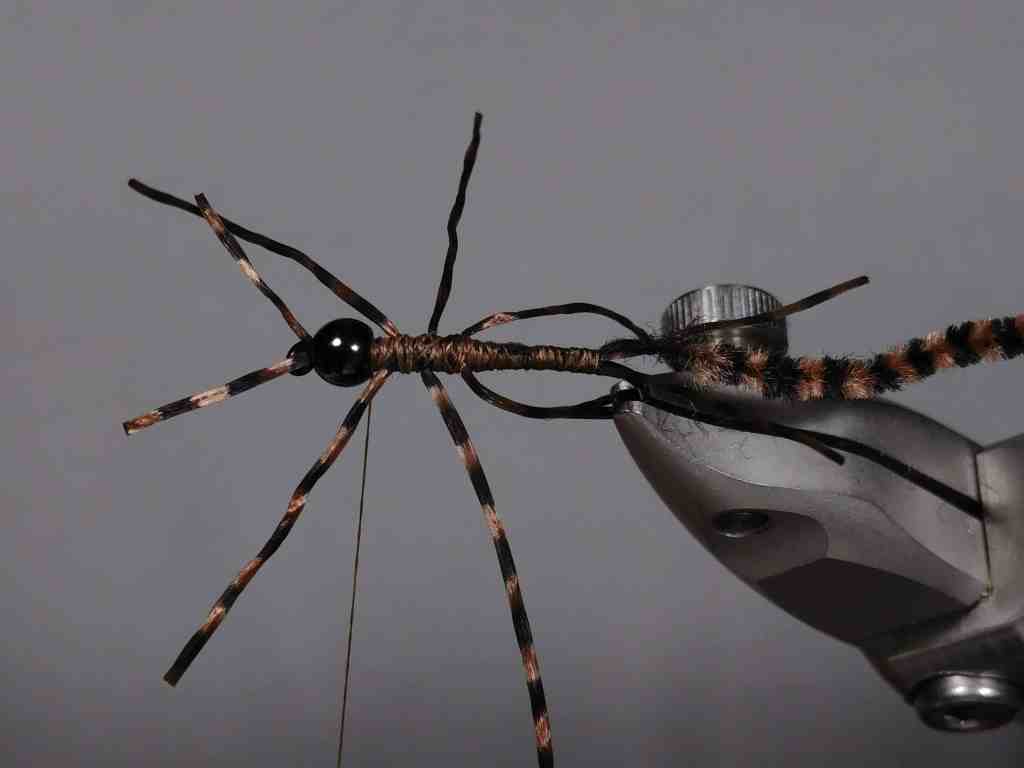
Now for the rubber legs! I like to work my thread to about the half way position of the body for the back set. Lay your leg material on top of the shook shank and secure it in place. Then using thread wraps work the material so that each leg appears to be sticking straight out the side. Repeat this step two more times working forward. I try to make them far enough apart. This way, I can get one or two wraps of chenille between them.


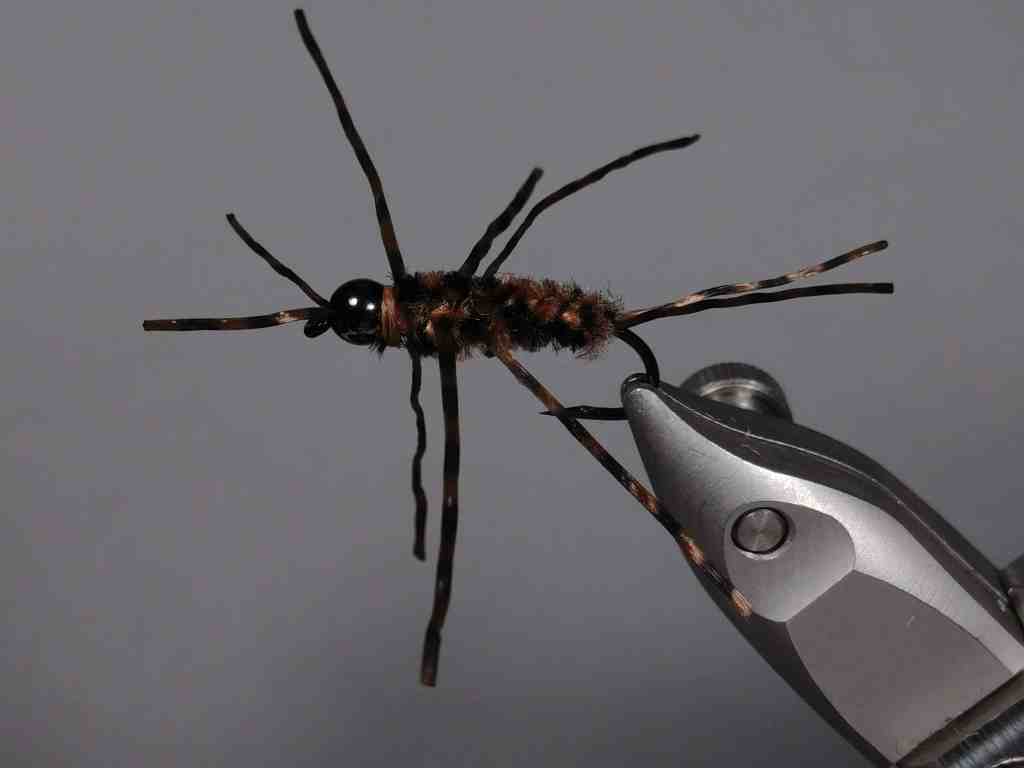
Time to wrap the body material. Using touching wraps work toward the hook eye and through the legs until reaching the bead. Capture the chenille with your tying thread and whip finish the fly! This fly will fish great just the way it is in the last picture shown above. We still are going to tweak it slightly to make it a little more refined.
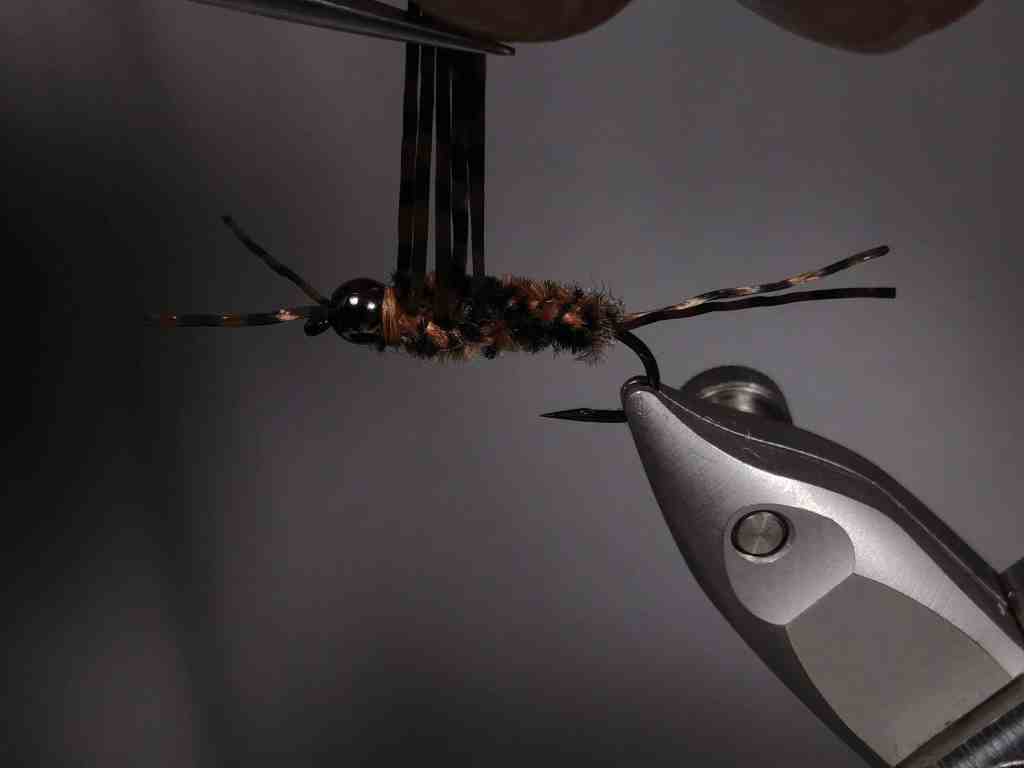
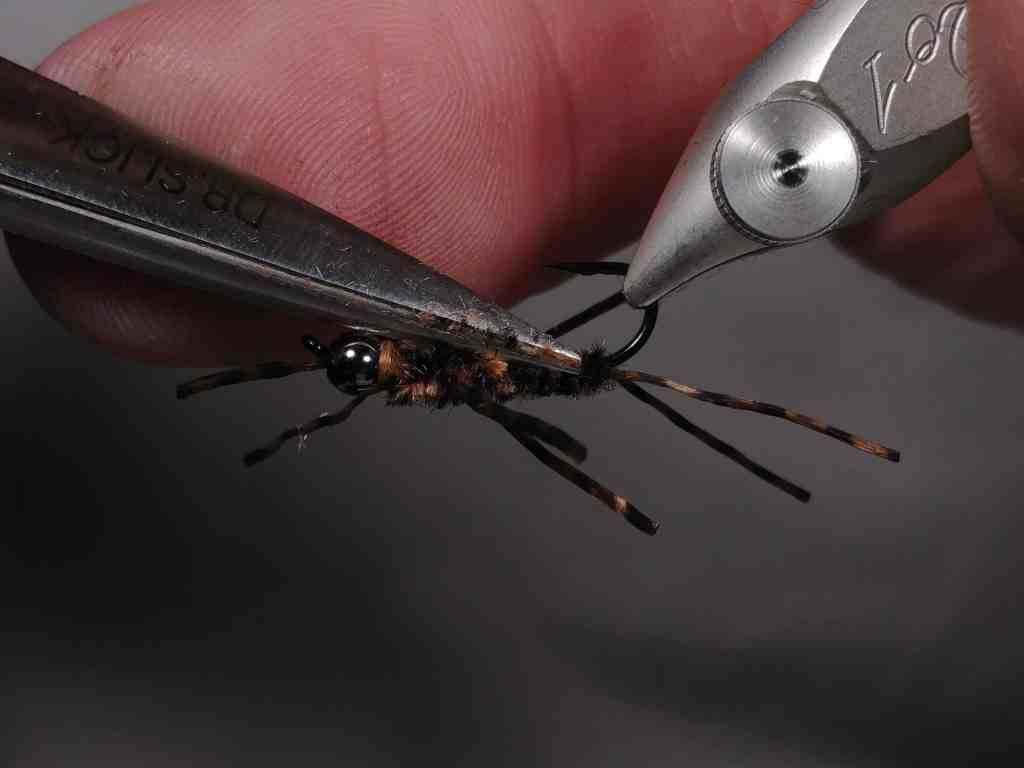

The first part of this is to trim. Trim your legs to match in length by pulling them all straight up together. Then trim the abdomen down slightly. Be careful not to clip any legs and don’t trim too deep or you can cut your chenille loose.


Finally, we are going to make a wing case/backing for this fly with some UV. Use a small amount and spread it evenly over the thorax region of the bug. Hit it quickly with a UV light and cure.
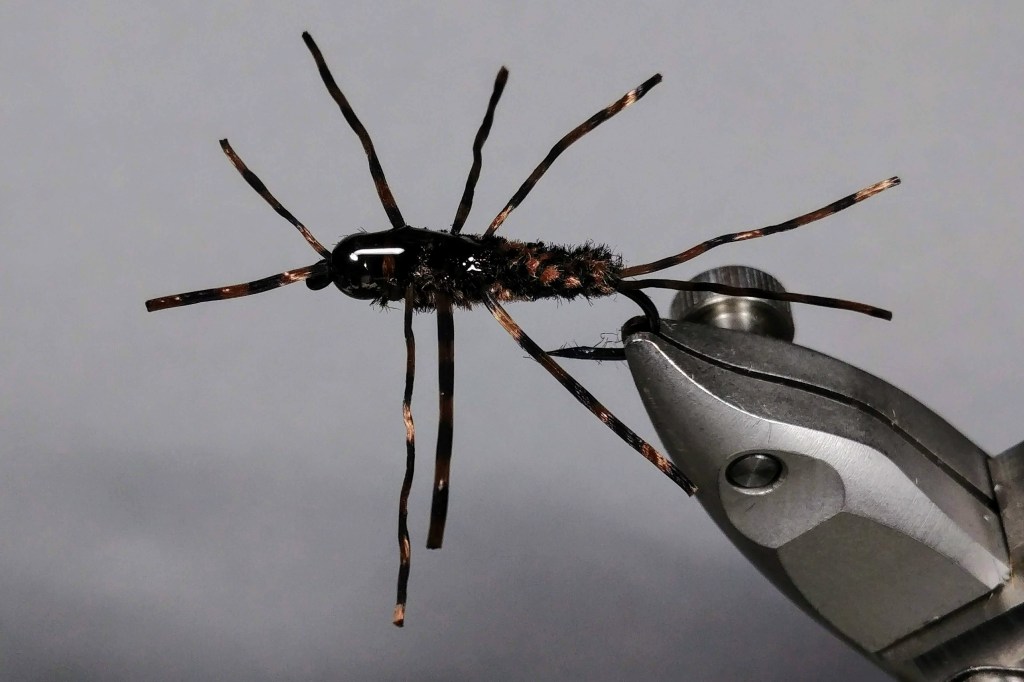
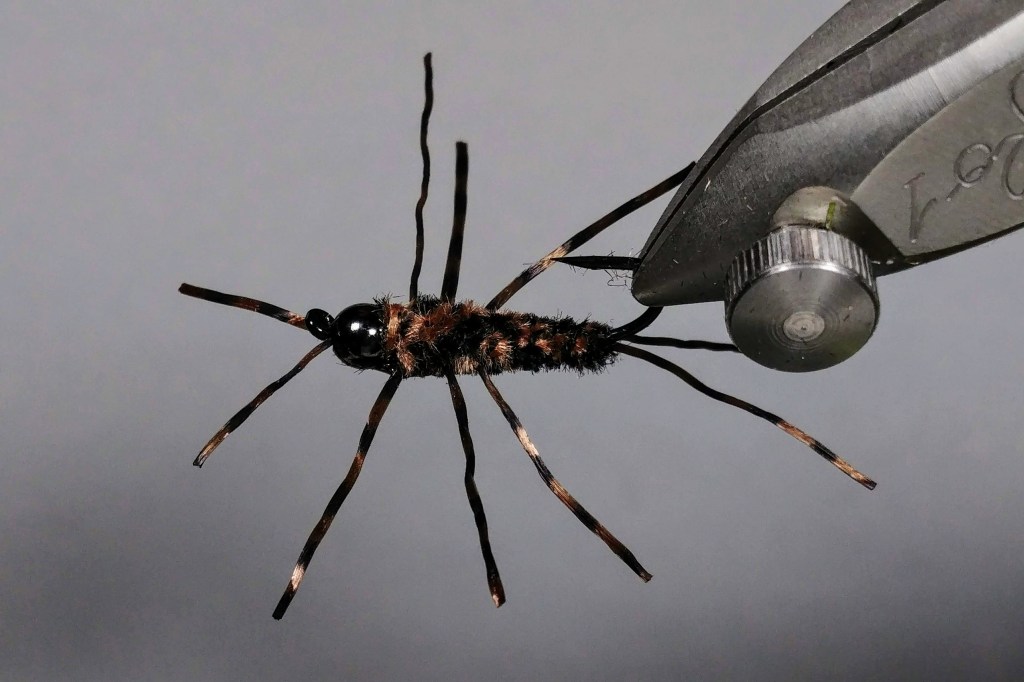
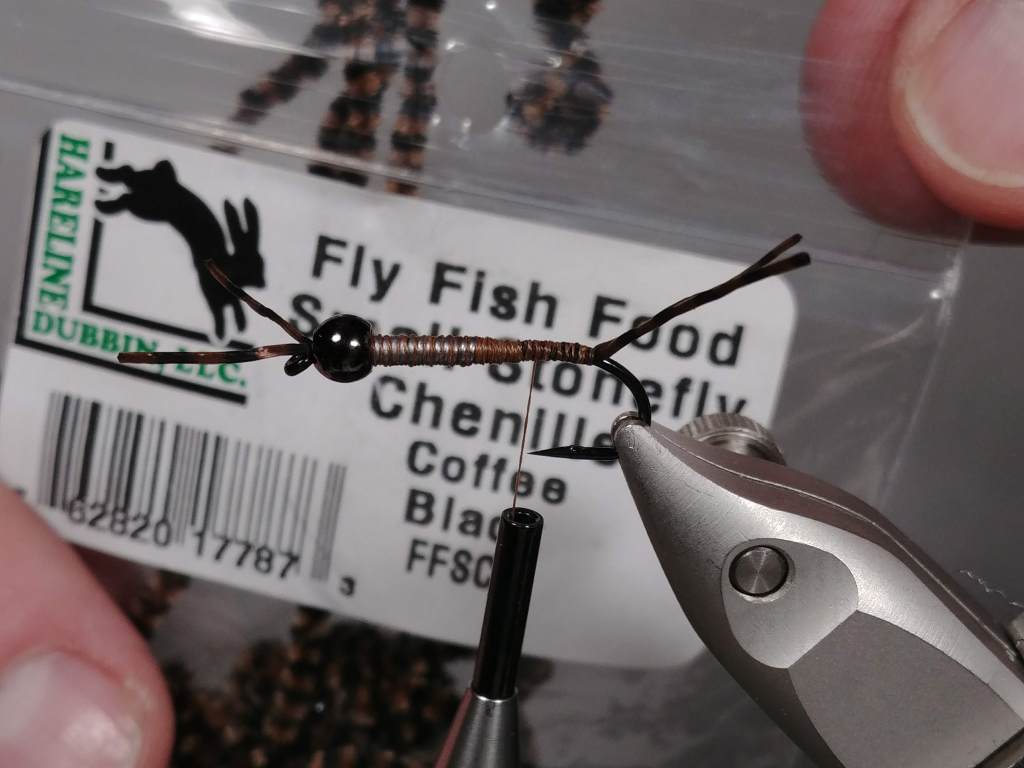
Fly Fish Food Rubber Legs Stonefly Coffee Black (bottom)
Recipe:
- Hook: U106 Size 10
- Thread: Veevus 8/0 Brown
- Weight: .015 Lead Wire 15 wraps
- Bead: Brass 1/8
- Body: Fly Fish Food small Variegated Chenille or Variegated Chenille Medium
- Legs Antenna and Tail: Life Flex or Barred Sexi-Floss
- Backing: Loon UV Fly fishing Thin or Fluorescing
Leave a Reply