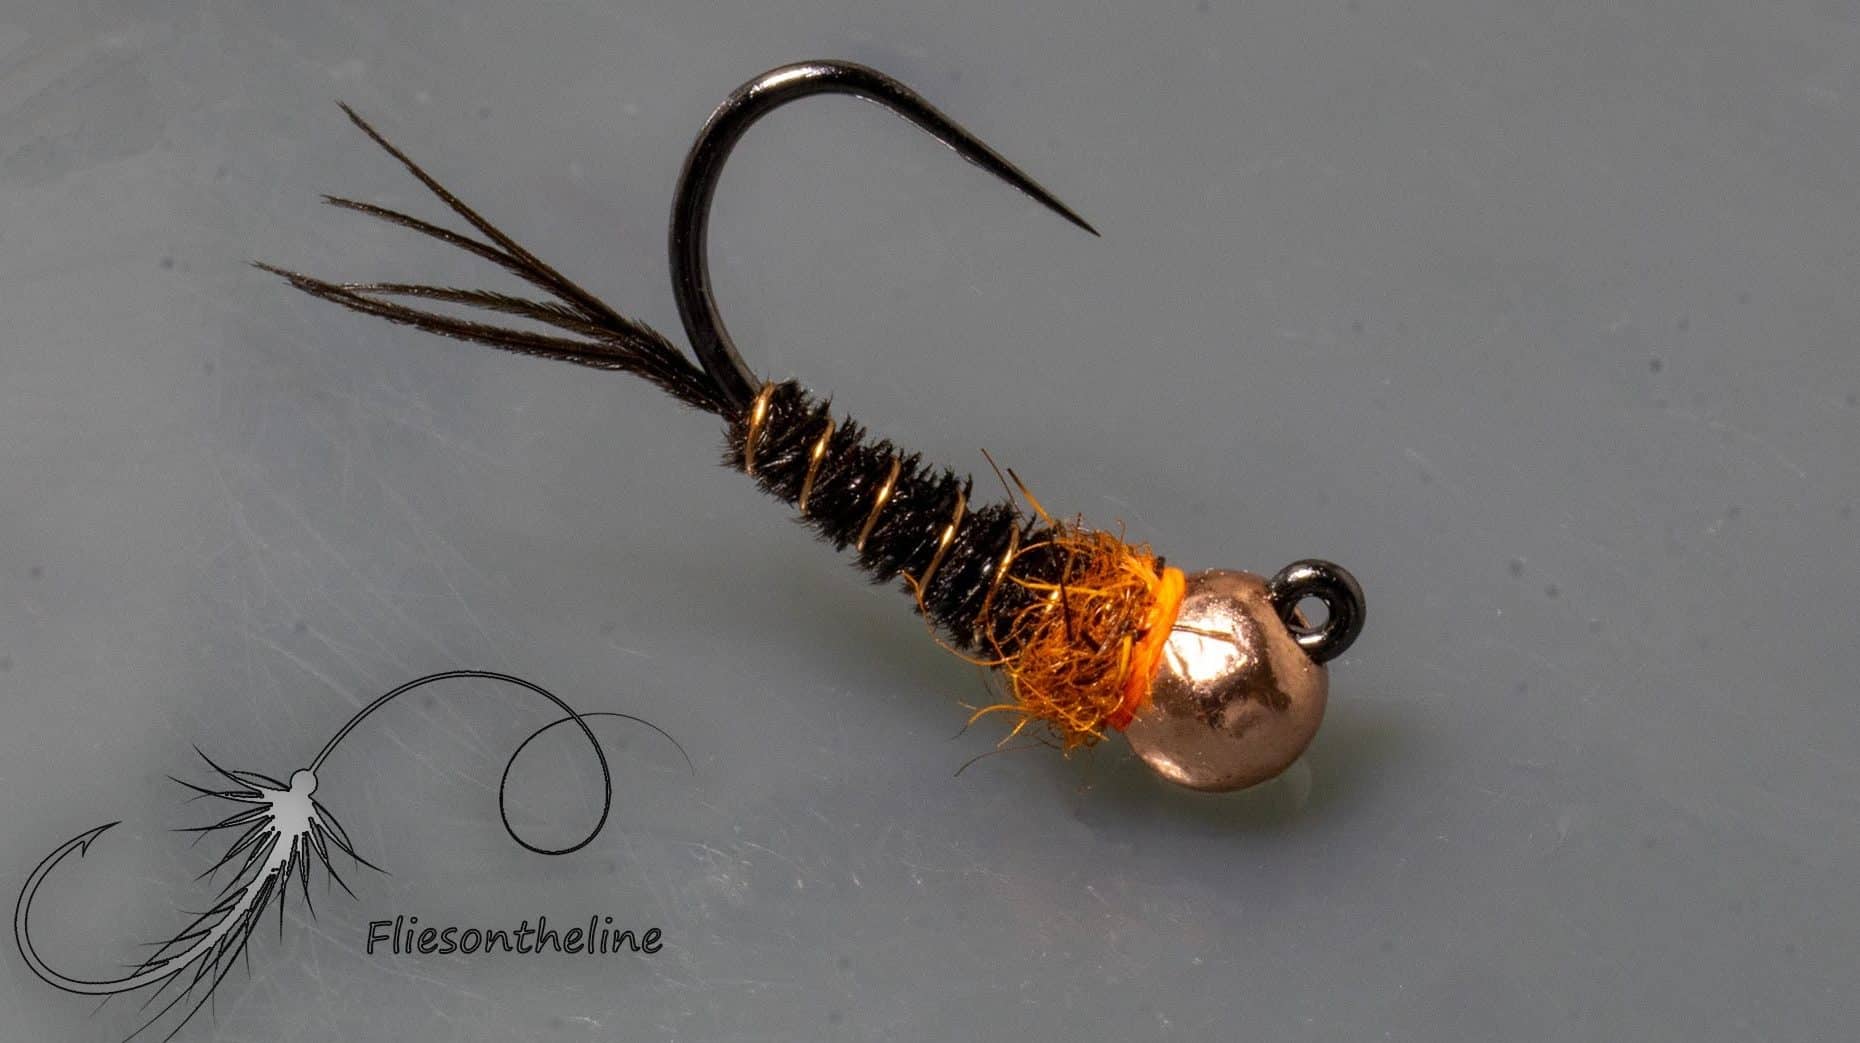
The Euro-style Pheasant tail is derived from the original pheasant tail created a long time ago by Frank Sawyer. Maybe the most effective/lifelike nymph created. Natural pheasant tail material is very indicative of a nymph’s body. The method of tying used on this fly is repeated frequently. Different materials are used each time. Pheasant tail just seems to work best. Of course, because this is a euro-style fly it is tied on a jig-style hook. Along with that, we add a tungsten slotted bead and lead weight for a better sink rate. Hopefully, this means we can avoid having to add weight to our rigs while fishing. The best aspect of this fly is its versatility. A simple change in color or size allows it to match many different aquatic species. Anything from large Stonefly nymphs down to the tiniest of mayfly nymphs. Olive/brown for BWOs and PMDs or Black for Tricos and Micro Black Stonefly nymphs.
Step By Step instructions for olive variations:

Start by sliding the bead into place and placing the hook in your vice jaws. I am tying on a size 12 hook today, using the Umpqua Competiton Series C400BL. Along with a 1/8″ Slotted Tungsten Copper bead. I love the C400BL for this fly as the profile seems to fit perfectly.
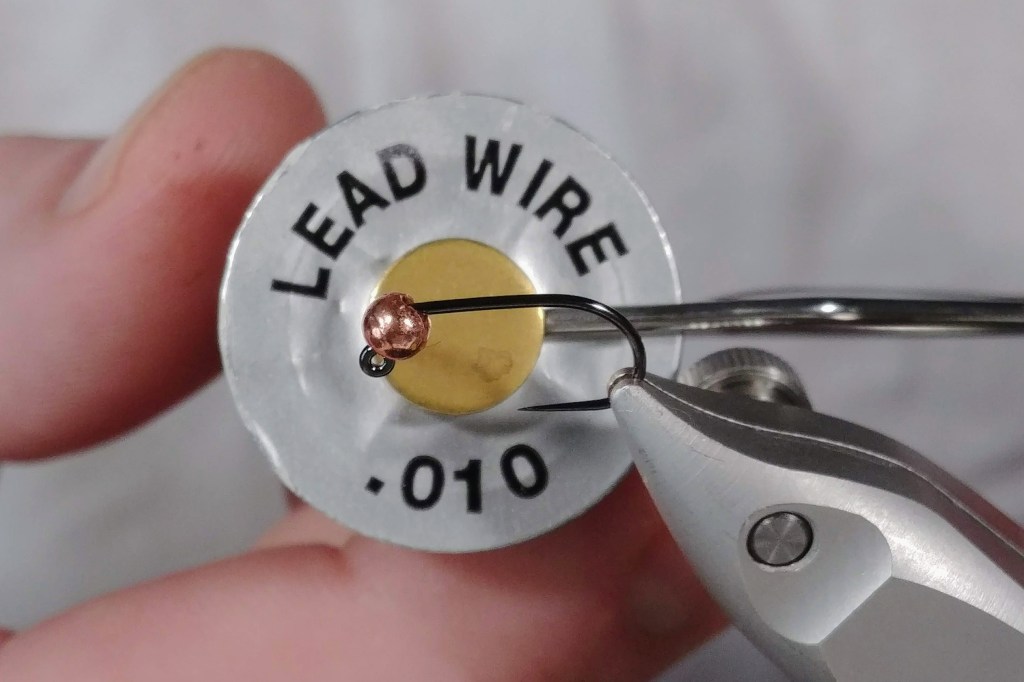
Add wraps of lead wire. Since I am using a lighter size (.010) on this size 12 fly I am giving it 20 wraps. This is somewhat of a mid-weight fly for me.

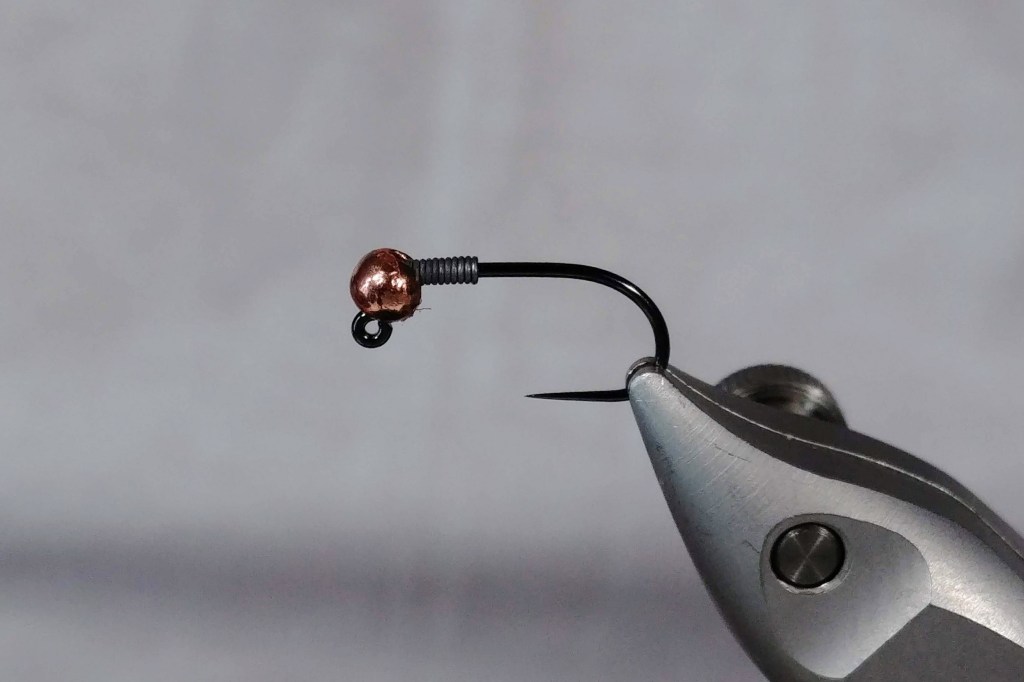
Start your tying thread behind the lead wraps and create a thread dam. Wrap until you can sneak on top of the wire without it moving. Secure the wire and make a slightly tapered thread body. I use Fluorescent thread a lot when tying my euro pheasant tails simply for the hot spot collar when finished.


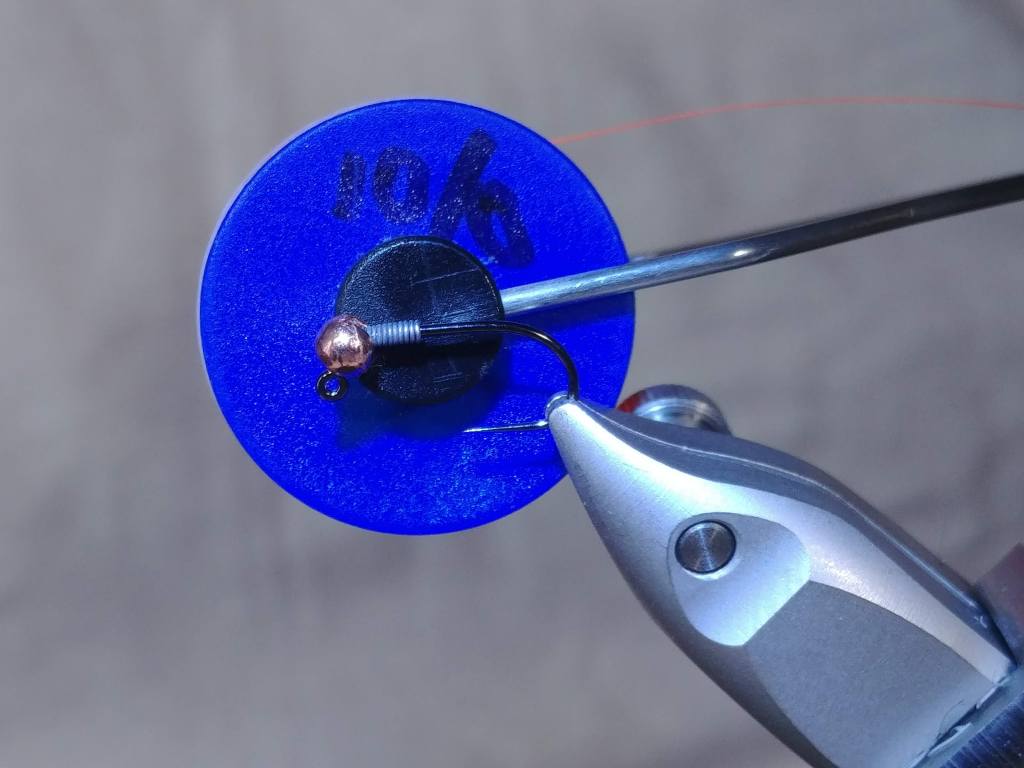
Measure a tail with some CDL fibers. Make it about the length of the hook shank. Tie it in where the hook bend begins. Try and keep all your tips aligned when pulling them off the feather for a uniform look.
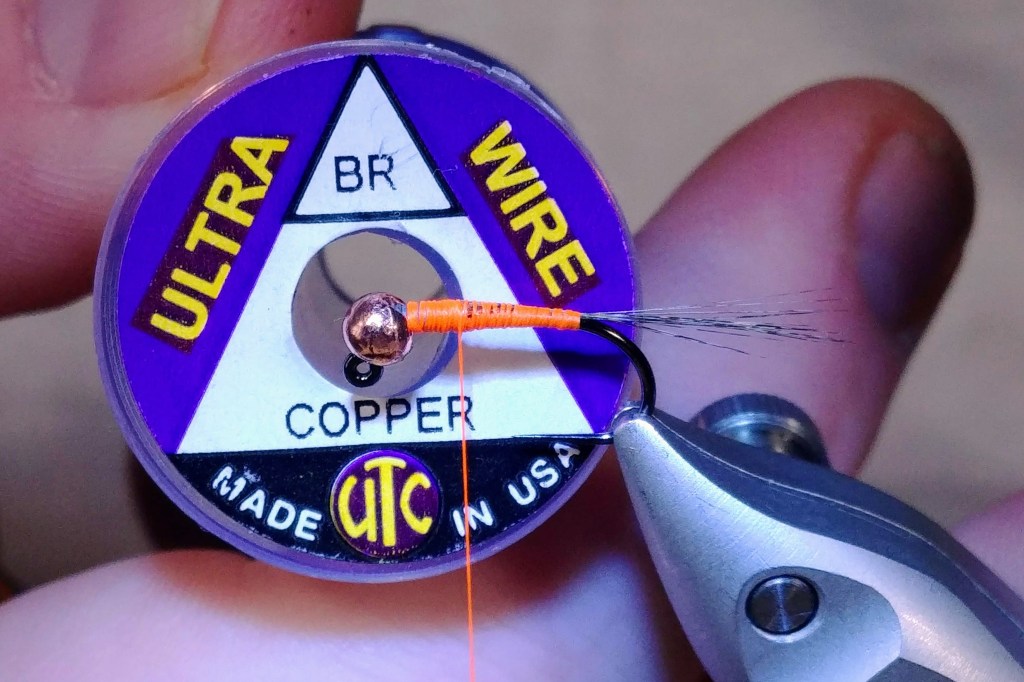

Pull some wire off a spool and tie in on one side of the hook shank. Leave it hanging back or in a material clip for now. I am using UTC Brassie Copper wire for defined segmentation on this larger fly.


Pull some pheasant tail fibers off the quill and tie in on the same side as the wire. Try and keep the shimmery side facing down. People often say you are doing it wrong if you use more than three pieces of pheasant tail fibers. I tend to do it wrong… For a large fly like this, I use four or five fibers to help in covering the entire body. This pheasant tail is dyed olive.


Wrap the pheasant tail forward all together with touching wraps making sure to cover all the thread. Tie off behind the bead. From here I pull the pheasant tail butts upward and tie them back creating a thorax region. This also leaves the pheasant tail in place to be tied back over as the backing material. You can see that I am setting up to have my backing on the inside of the hook. This is because it is a jig variation. Hopefully, the hook will ride this way in the water, but probably not in reality. They don’t tend to look as nice in your box, however.

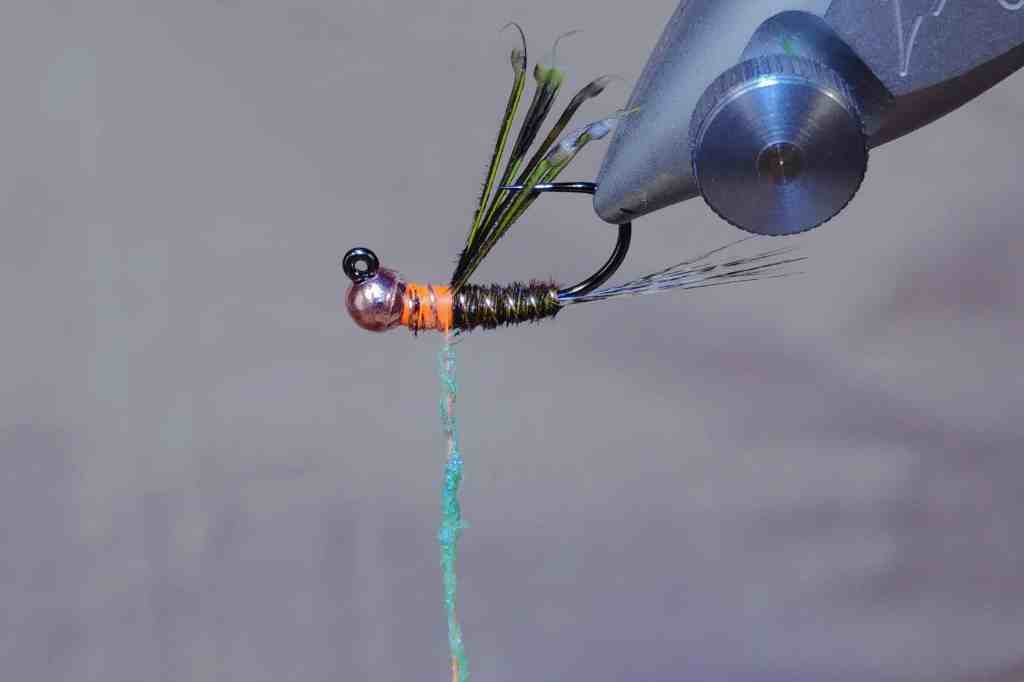

Select a small amount of Ice Dub and create a tight dubbing noodle with some dubbing wax to help. Ice dub is really hard to get into a tight noodle without the help of wax. Wrap the dubbing noodle forward until a nice bulbous thorax is created.
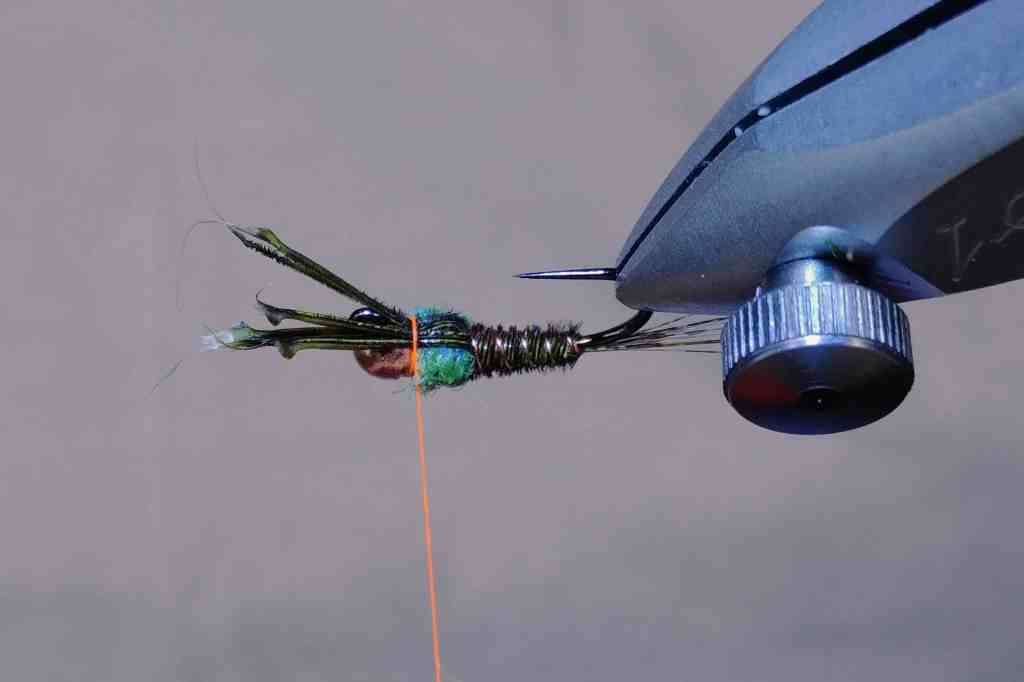

Pull the existing pheasant tail butts forward and tie them off behind the bead. Cut out the excess material and cover it with tight thread wraps. Whip finish the fly. The finishing touch to the nice hotspot collar.


Recipe:
- Hook: C400BL 10-16
- Thread: Veevus 10/0
- Weight: Lead wire .015 – .010
- Tail/Body/Backing: Pheasant Tail
- Dubbing: Ice Dub
Leave a Reply